
Staying Sharp
The ability of a knife to maintain a sharp edge after extensive use is a very valuable characteristic. I grit my teeth when I
read or hear. Don't make the steel too hard because then it will be difficult to sharpen.Yes, there
is a tradeoff between edge holding ability (hardness) and toughness but once you use a knife which stays sharp you will never want
to use anything else.
There are two principal mechanisms which cause a knife to become dull, mechanical abrasion and chemical etching. Mechanical abrasion is the main dulling mechanism in carving dry wood. Both mechanical abrasion and chemical etching are important in meat cutting and shaving. Stainless steel razor blades last longer than the old plain carbon steel ones because they are more resistant to attack by the chemicals in the shaving cream.
Edge holding is also intimately connected with the hardness of the blade. Hardness, defined as resistance to penetration, is a measurable quantity. One qualitative measure of hardness is the Rockwell C scale, based on an instrument which presses a diamond stylus with a specific force into the material being tested. The size of the indentation indicates the hardness. Cheap knives and most stainless steel knives have a hardness value of RC 56 to 58. better knives, such as the laminated Swedish Mora blades have a hardness of Rc 58 to 60. Many Japanese woodworking tools have edges with hardness of RC 62 to 64. The difference between edge holding properties of Rc 56 and Rc 62 is ENORMOUS. I try to temper blades to Rc 62. Yes, the steel is more brittle than if it were softer but remember this is a knife, not a pry bar. One consequence of increased edge hardness is that it takes longer to sharpen. With blades of very hard steel you should avoid using 'Crock Stick' or other cylindrical sharpening devices. Excessive pressure on a cylindrical sharpening stone with break out a series of little tiny chips from the cutting edge. Use flat whetstones instead.
Raw Materials
Most of my experience has been with plain carbon steel, type
1095, .05 inch thick. The reasons for using 1095, in no particular
order, are:
a. That's what I have available from making Bowscraper blades.
b. It is relatively inexpensive.
c. It is easy to heat treat.<>
d. It has excellent edge holding properties for wood carving.
Worn out files are another source of high carbon steel similar to 1095. 1095 steel consists predominantly of iron atoms with approximately 0.95 % carbon by weight. Since carbon atoms are lighter than iron atoms (ratio 12/56) 4.5 % of the atoms are carbon and 95.5 % are iron. Another way of looking at it: Every 23'd atom is carbon. An additional small amount of manganese is added to make the steel easier to harden.
Another type of steel, readily available in old saw blades, is L6. Look for an old crosscut saw (misery whip) or Sawzall blades. This is a high carbon steel with some nickel added. The heat treatment procedure for L6 is similar to that for 1095. L6 is slightly less hard and more tough than 1095 for a given heat treating cycle.
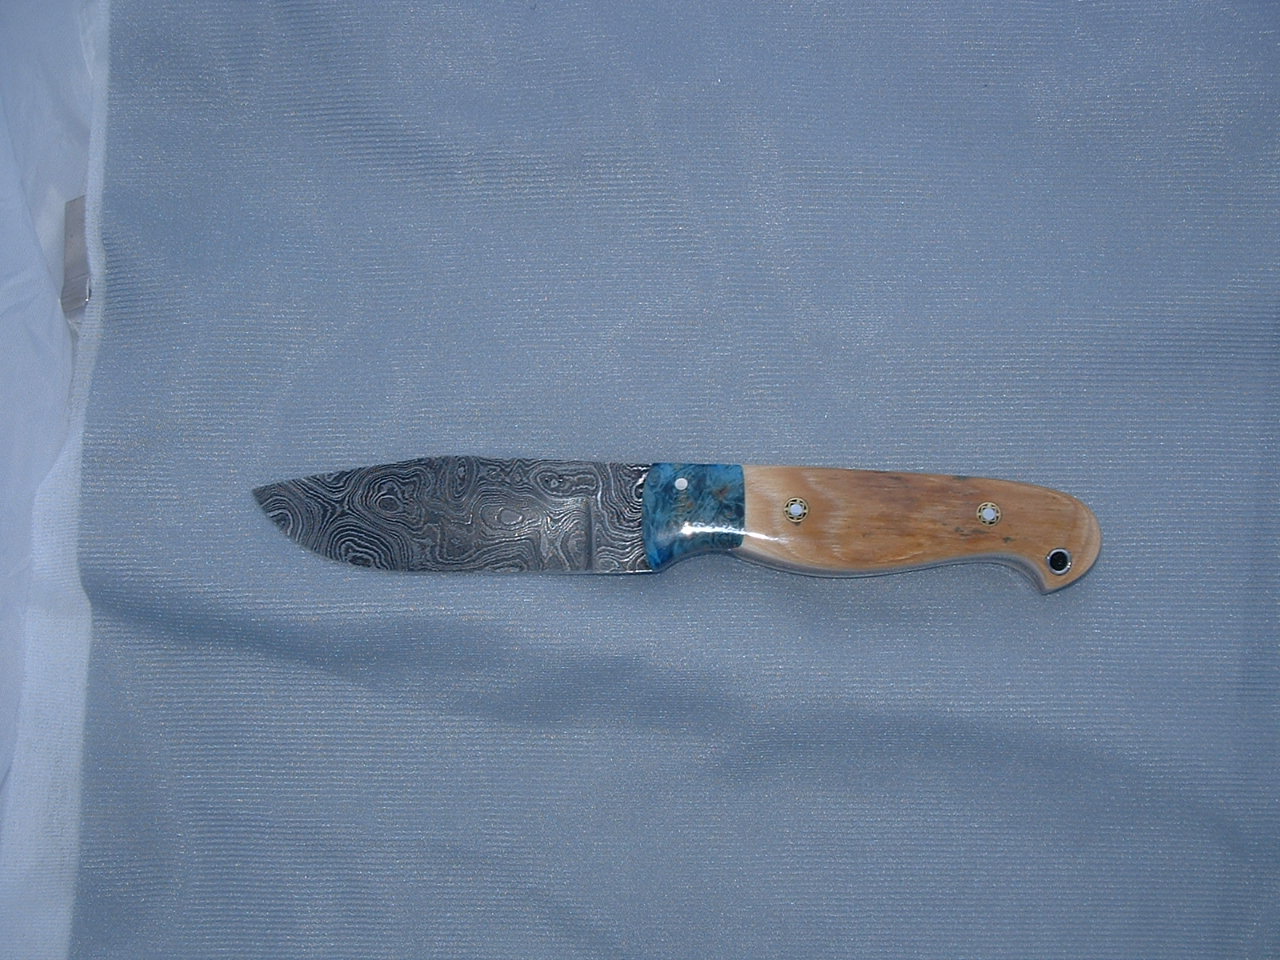
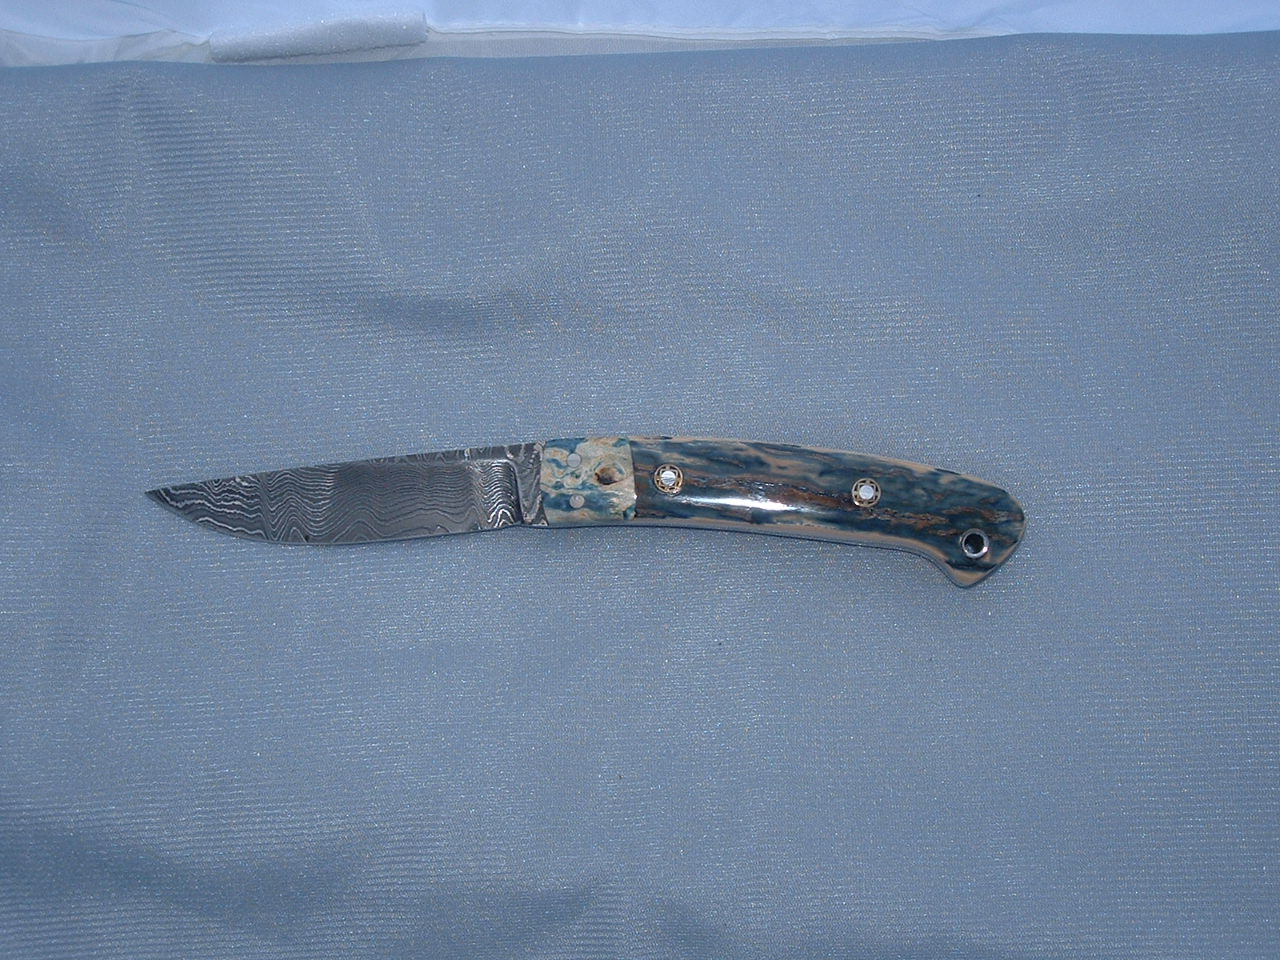
Blade design
The knives I make have fairly short blades. This is because of the experience I had with a laminated Mora knife with a 3 3/4
inch blade, a gift from my late mother in law. It had excellent edge holding properties but the parts of the blade that needed
sharpening most frequently were the first 2 inches of the blade and the tip. The middle part of the blade never got dull. From
this I concluded that I rarely used the middle portion of the blade so why not eliminate it? Make the blade no more than 3 inches
long. I use a tapered tang that fits snugly into a slot in the handle.
Cutting out the blade
It seems to work best when I make the handle first. This is particularly important when making one-of-a-
kind handles from antler. After finishing the handle, including the slot for the tang I make a cardboard template of the proposed
blade shape to see how it looks in the handle. Next I use an indelible marking pen to transfer the blade shape to the steel. A vice to hold the steel and a hand-held hacksaw can be used to cut out the blade if the steel is in the soft annealed state. Now I use the power jigsaw with a high speed blade to cut the blade to shape. I use the highest speed setting on the saw and stop frequently to lubricate the blade with paraffin wax to keep it from overheating. Some touch-up work with a fine file is always needed to make the back of the blade nice and smooth.
When you are deciding on the blade thickness you are going to use remember that the amount of metal that must be removed is proportional to the length of the blade times the square of the thickness. If you want a blade that is twice as thick then you have to create a pile of metal filings which is 4 times bigger. This why I like making small knives.
Another technique is used for cutting up old annealed crosscut saw blades. 'Hot sawing' involves using a dull power jigsaw blade, no lubricant, high speed and lots of pressure. Do it at your own risk! After everything heats up and the sparks fly it will cut very quickly but not give a super smooth edge. The freshly cut edge of the blade will actually be hardened by the transient heating that accompanies the cutting. Hard steel is the sort of thing that ruins files. Consequently you will need to remove the thin hardened layer with a grinder before you do any filing.
Setup for filing the bevel
Ergonomics! If you had infinite patience and dexterity you could hold the knife blank in one hand and the file in the other while
you shaped the blade. That would probably be the last knife you ever made. Good ergonomics requires clamping the knife blank at
waist height so that you can apply your body weight and muscle power to the file in order to make the bevel quickly, accurately
and neatly. Use both hands and apply a very great pressure to the file. I also don't like getting steel filings all over my
workbench. Consequently I fasten a 2by4 to the workbench which extends out about 12 inches. I then clamp the knife blade to the
2by4 and the filings fall onto the floor.
Filing the bevel
In order to get the job done as quickly as possible use three different files. I start with a very coarse file. Try to keep a constant bevel angle over the entire edge. An included angle of 30 degrees is adequate. How do you tell 30 degrees from a handsaw? Easy. That is a 15 degree bevel on each side of the edge. A 15 degree bevel means the length of the bevel is approximately twice the thickness of the blade. over for and up 1. Do 90 % of the work with the very coarse file and finish with the medium and fine files. Keeping a constant bevel angle will pay dividends when it comes time to put a razor-sharp edge on the blade.
About steel and heat treating
This is a description of the way I heat treat 1095 carbon steel knife blades. My personal objective is to make a small knife with exceptional edge-holding properties instead of something that can be used as a crowbar. Consequently the steel near the edge
is kept in a very hard state.
Light Weight Theory:
Iron atoms have a simple crystal structure. When you add carbon atoms to an iron crystal lattice the equilibrium position for
the carbon atoms is in big holes in the lattice. When the carbon atoms are in the big holes, the annealed state, the properties
of the iron and carbon alloy (commonly called steel) is only slightly different from the properties with no carbon. You hardly know the carbon atoms are there at all. The magic happens when you heat the steel lattice above a critical temperature (medium red
heat or about 1475 degrees Fahrenheit) and then cool it quickly. Then the carbon atoms get stuck in places where they normally
wouldn't fit, a non-equilibrium condition. The crystal lattice expands slightly because the carbon atoms have pushed the iron
atoms farther apart and becomes very, very much harder. The tensile strength and hardness are vastly increased.
The down side of all this is that the steel becomes very brittle. A major for this reason is thermal stress. Unless every part of the steel goes through the exact same cooling cycle there will be parts of the steel where most of the carbon atoms are pushing the iron atoms apart and regions where a smaller fraction of the carbon atoms are distorting the iron lattice. This sets up severe mechanical stress in the steel which may cause it to spontaneously crack.
As quenched the steel is probably harder and more brittle than you want. The hardened steel can be made less brittle and thermal
stress relieved, tempered, by heating it to a specific temperature for a specific amount of time. Tempering is always a compromise
between hardness and stress relief.
Heat sources
When I first started out I had used three different heat sources. The first was my Weber barbecue grill and charcoal briquettes but since have move on to a regular heat oven. I did it in the late afternoon so I could see the medium red hot color in the steel. Light up a medium size pile of briquettes, fan them to get them glowing and plunge the steel into the mass. When the steel is medium red quench it. The advantages of the Weber are that you can do large pieces, there is very little danger of overheating the blade and it provides a reducing atmosphere so there is little chance of de-carburizing the blade.
For the two abovementioned methods do the heating in a dimly lit location so you can tell when the blade has a medium red glow. This is a fairly good indication that the correct temperature has been reached.
I also have an electric furnace with a thermocouple thermometer. This gives much better control than the other two methods but may not be as readily available.
Heat treating a blade
The blade should have as smooth a finish as you want at this stage. Remember, once it is hardened you won't be able to shape it with a file. All you'll do is ruin the file.
Have some way of holding the blade which will allow it to go from the furnace to the quenching oil. On some knives I wrap a piece of heavy wire around the tang and use that as a handle. Otherwise I use a pair of farrier's tongs. Make sure your heat source is big enough so that the entire blade is uniformly heated to the same medium red color. A. Bring the entire blade to medium red heat (1475 deg. F). Don't leave it in the furnace any longer than necessary and to prevent grain growth don't get the steel hotter than necessary. B. Plunge the blade edge first into the quenching bath. Keep the blade vertical. If one side of the blade cools faster than the other then the blade will warp. I use a quart of 30 weight motor oil poured into an old bread pan. Motor oil is cheap but it stinks. David Boye's book says he used olive oil at one time. Water quenches the blade more quickly than oil and gives a greater risk of warping or cracking. C. Temper the blade to get the desired hardness: in a my oven at 400 deg F for about 20 minutes. The goal is Rockwell C-62.
Many books give a slightly different recipe for tempering carbon
steel. The procedure they follow to temper a quenched and hardened
blade is:
1. Polish the hardened blade with emery cloth so you see shiny
metal.
2. Heat the blade slowly until you see a colored oxide form on the surface of the blade. When the color is just right plunge the blade into water. (light straw color for a knife to deep blue for a screw driver.) That's the way it was done by the village blacksmith. Welcome to the 20'th century. I don't think oxide colors are as accurate as a thermostatically controlled kitchen
oven.
Differential Tempering
A differentially tempered blade has a cutting edge which is harder than the remainder of the blade. This is something I didn't do
in the earliest knives I made. I do it now because it looks good but I don't know if the knife is stronger because of it. If you
don't want differential tempering then skip steps c. and d.
c. Polish the blade with emery cloth so it looks like shiny metal. This is so you can see the oxide colors form on the back as you heat it up the draw some of the temper on the back of the blade.
d. Draw more temper from the back of the blade: Hold the blade in a clamp with the cutting edge in contact with a damp pad of paper towel or rag. With a Bernzomatic torch set to put out a pencil flame, play the torch on the back of the blade until a blue oxide layer forms. Ideally you should have the entire blade blue except for the edge.
This is easy to screw up. If you don't do a good job of keeping the blade edge cool with the damp rag and the blue oxide forms on the cutting edge then there will be a soft spot which will not stay sharp. Practice your heat treating and tempering techniques on scraps until you are confident. Buena suerte.
Japanese swords are hardened and differentially tempered in one process. The un-tempered blade is coated with clay except for the cutting edge. The sword is then heated red hot and plunged into water. The clay layer slows down the cooling rate on the body of the sword and prevents it from becoming fully hard. The cutting edge, exposed directly to the water, cools very quickly and becomes very hard. I think this would take a lot of skill.
Un-heat treatment
What if you are starting with old cross cut saw blades or files which are already hard? Do yourself a favor and anneal the steel
before trying to shape it. Heat it up to red heat and let it cool very slowly (hours).
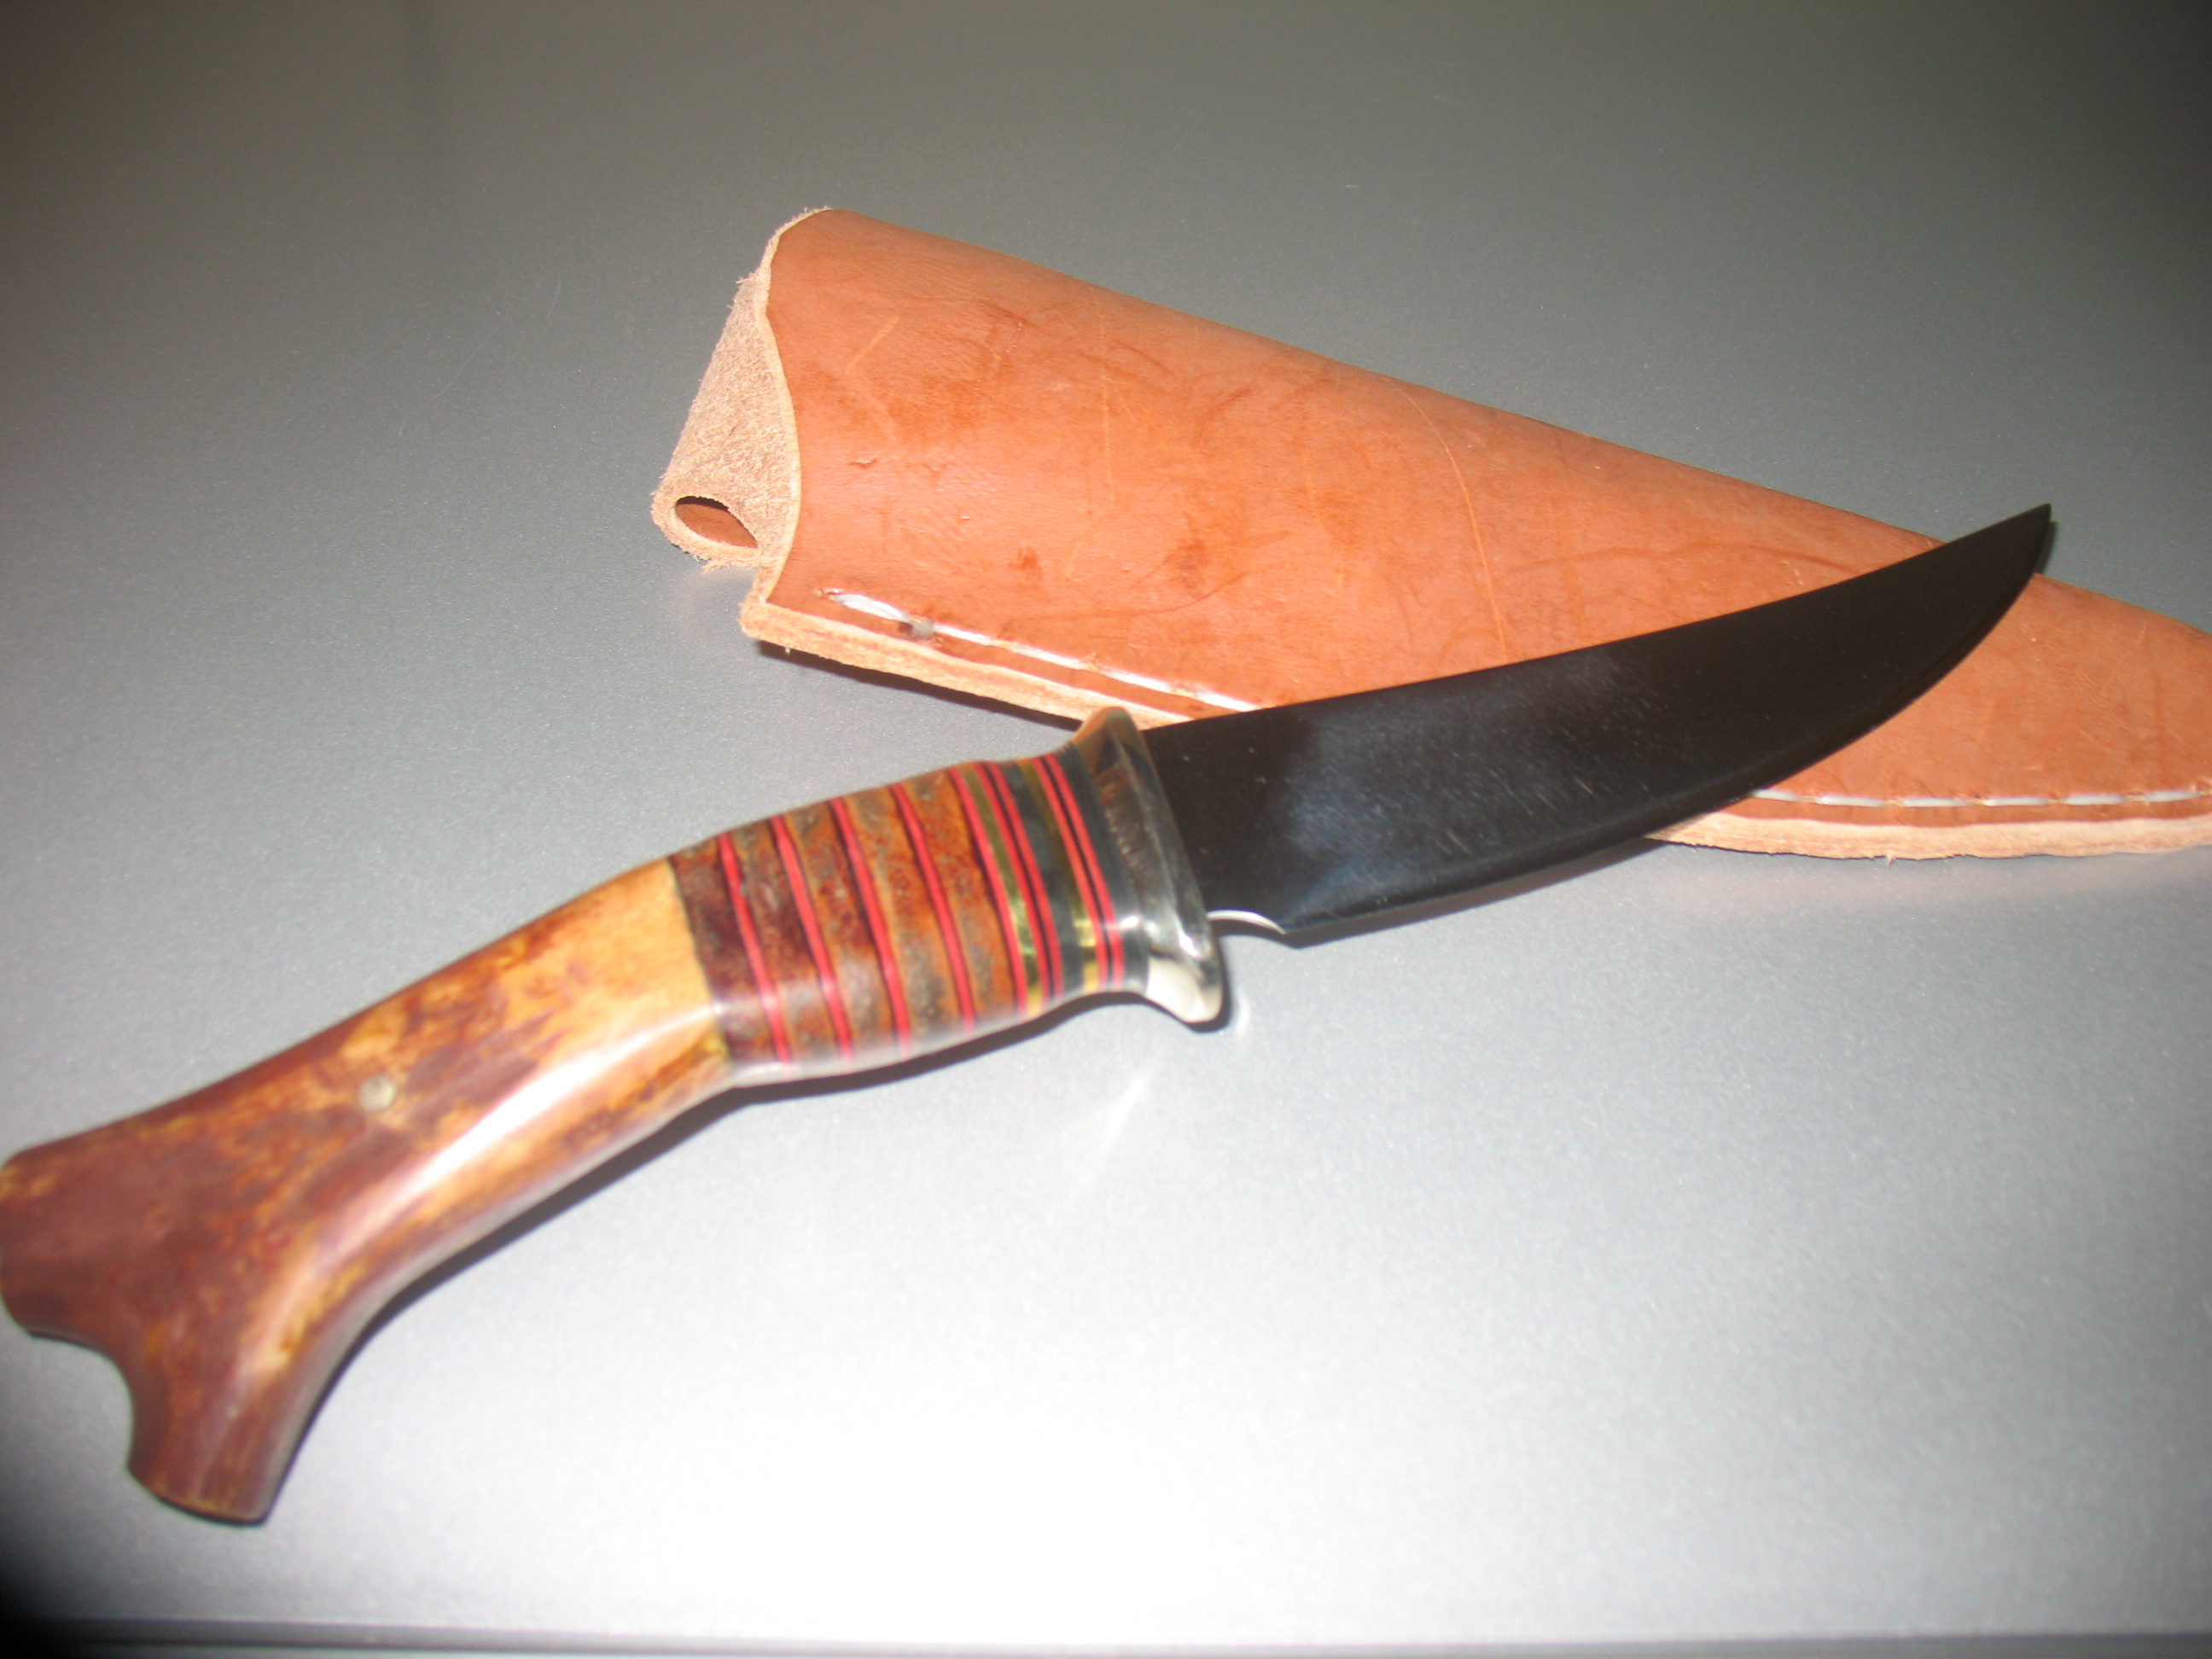
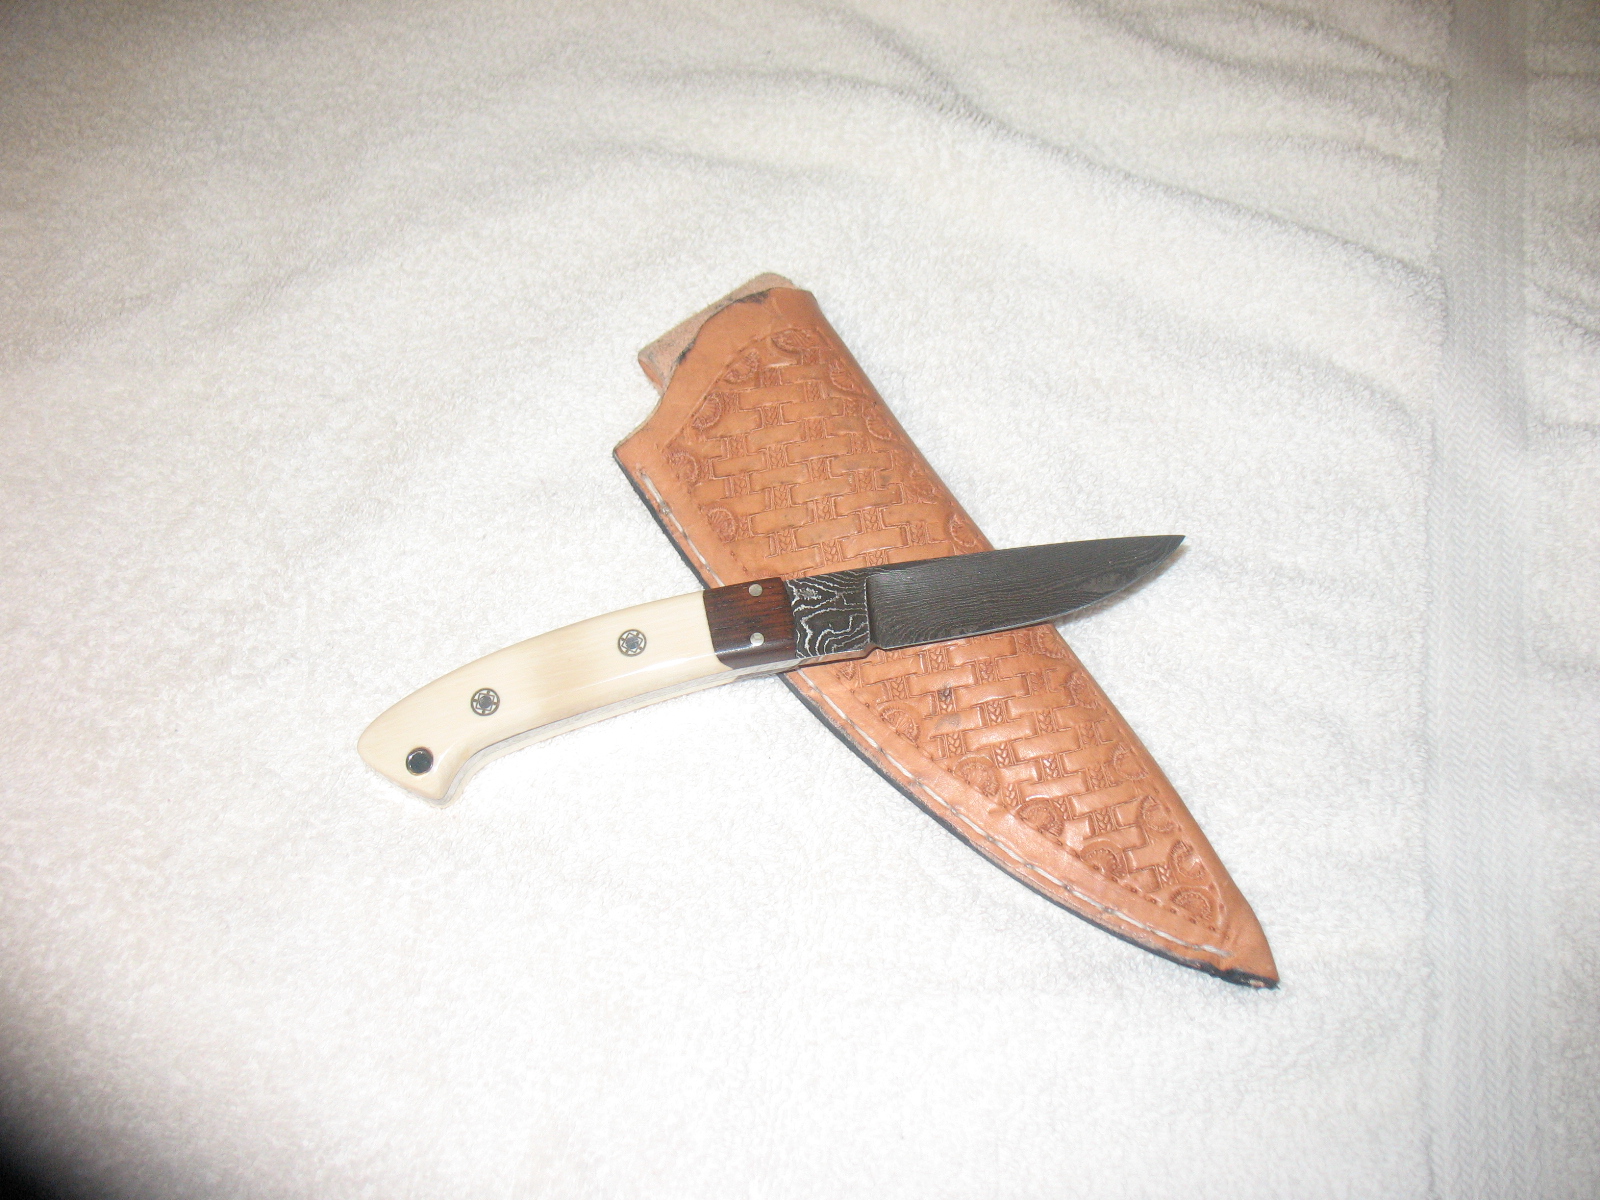
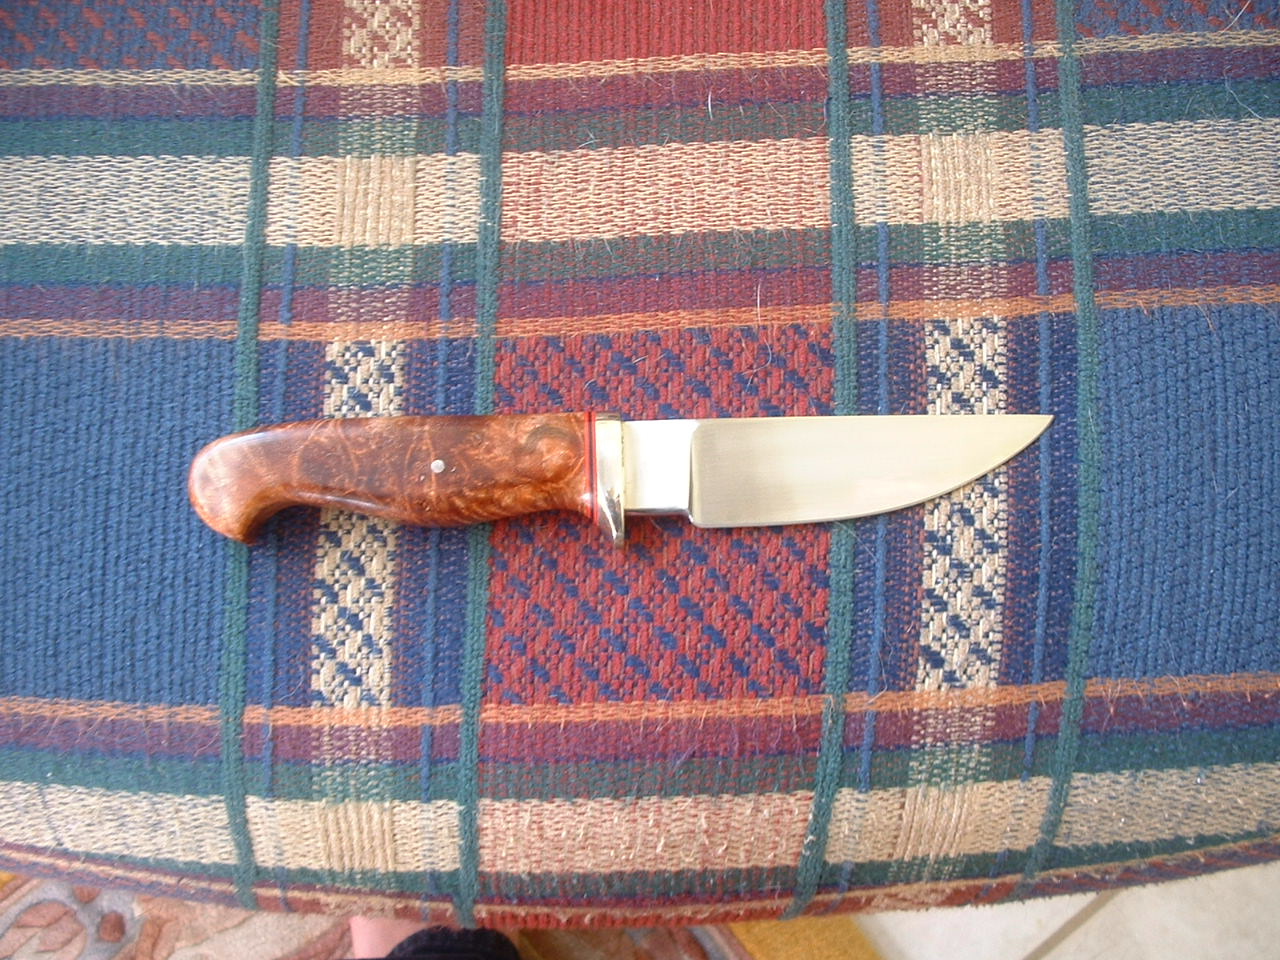
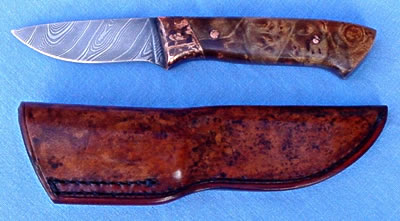
The handle
There are several options for handle materials and ways of fastening the blade to the handle. I will describe what I have been doing lately. If you want other options then consult David Boye's book. I have been making handles from osage orange, yew, iron bark eucalyptus, and manzanita wood but my favorite material is reindeer antler.
Shrinkage is the biggest danger with wooden handles. When you epoxy the blade into a piece of wood with some residual moisture then the wood is liable to crack as moisture evaporates and the wood shrinks. The way to avoid this is to thoroughly dry the wood handle before mounting the blade. Leave the handle in your car for a week or so during the summer or put it in the oven set at the lowest possible temperature (150 degrees) for a few hours. Antler seems to be dimensionally stable and not need this sort of treatment.
The blades I make have a V shaped tang which fits into a slot in the handle. In order to make the slot I first drill a 3/16 inch hole in the handle the length of the tang. Next I form the slot with my 'float'. This tool cuts a slot which is exactly the width of the tang. It is best to clamp the handle in a vice so that both hand can hold the tool for power and control.
Once the slot has been cut then you can shape the handle. I cut the slot before shaping the handle because if you accidentally get the slot off center you can shape the handle to bring it back to the center. It is also easier to hold the wood in a vice if it has parallel sides. If you shape the handle first and then cut the slot it will look bad if it isn't exactly in the middle.
Tool Set
Most of the operations in knife making can be done with hand tools. The power tools I use are a Bosch power jigsaw and a 1950 vintage Shopsmith which I inherited from my Dad. I use the jigsaw for cutting out the blade from annealed 1095 stock and cutting out the hardwood for the handle. The Shopsmith is set up as a horizontal drill press for drilling the hole in the handle. This insures that the hole is parallel to the sides of the handle. If you have either a good eye or low standards you can use a vice and a hand-held drill. I also use the Shopsmith's disk sander attachment for shaping the blades and handles.
Beveling the edge can either be done with a set of files or with a grinder. 'Real' knife makers use a specially constructed dual belt sander for this job. Whic is what I use. There's also a special hand tool is used for making the slot in the handle which receives the tang of the blade. I think the traditional name for this tool is a 'float'. The float consists of a short section of saw blade mounted in a wooden handle. The thickness of the saw blade is selected to form a slot the same thickness as the knife tang. The tip of the float is ground narrow so it fits in the hole. The float is mounted so it cuts on the pull stroke. One can also make the float from the same material the blade is made from.
Here's a couple video's showing one of the sanders that I use during the process. They guys in the vidoe arent making knives but you can see in the video these sanders work real nice.